Do you have stamp sets in your collection that you haven’t used?
This is my case with the background stamp Dry Brush. I’ve had it in my stash for a few months, but never had even opened the case.
I decided that needed to change quick. Why spend money on something if you’re not going to use it?
I will admit that it took me several attempts to get a stamped image that I was happy with.
But, now that I’ve figured some things out, I absolutely love this background stamp.
So versatile for adding interest to card creations.
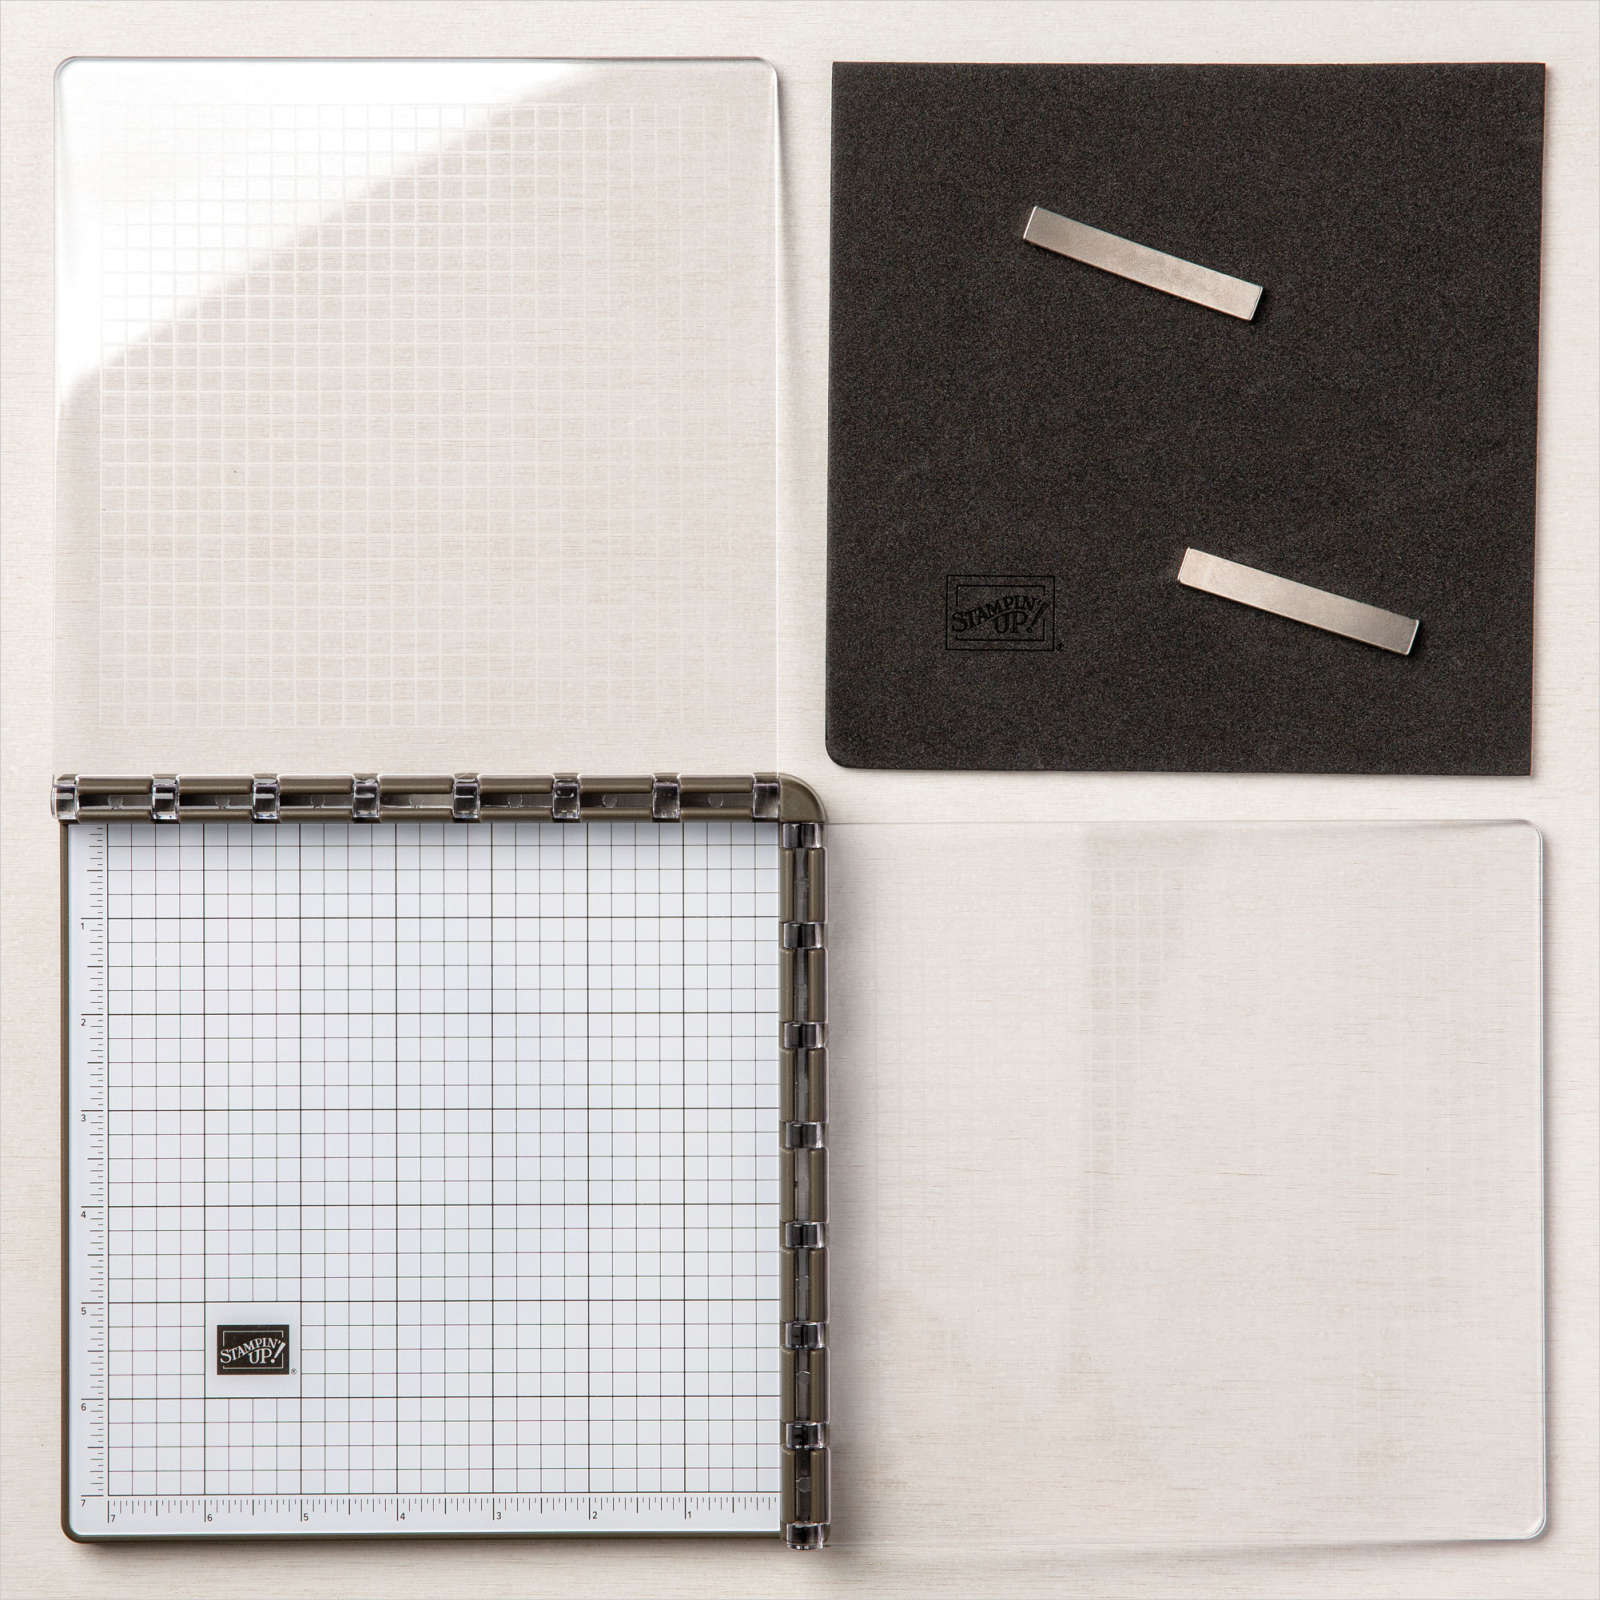
Probably the most important advice I can give you when using this stamp is to set it up on your Stamparatus. It is a big stamp, and getting a good inking can be tricky, especially if you have it on a block and only have 1 chance of getting a good stamped image. By setting it on your Stamparatus, you can reink in between stamping, getting full coverage.
Also, if using the Stamparatus, start with a piece of card stock that is a little bit bigger than the stamp. That way, you can place the magnets to hold it down out of the way of the stamping. Otherwise, the stamp won’t cover the card stock because of the bulk of the magnets. You can then cut the stamped piece down to fit your project.
The Stamparatus is important too if you are mixing colors like I did with the card above. Tap the ink pad from the first color in the areas you want and stamp. Repeat if you want darker colors or need to fill in the image. I cleaned the stamp before adding the next color as I found that the inks were looking muddy. If you want to mix/stamp the colors all at the same time, I suggest dabbing the areas where the colors meet with a paper towel. This will help get rid of sharp edges left from the ink pads.
For the background above, I started by inking the top parts of the stamp with Pacific Point.
Then, I added Balmy Blue and finished with Rococo Rose.
The stamp was cleaned in between colors.
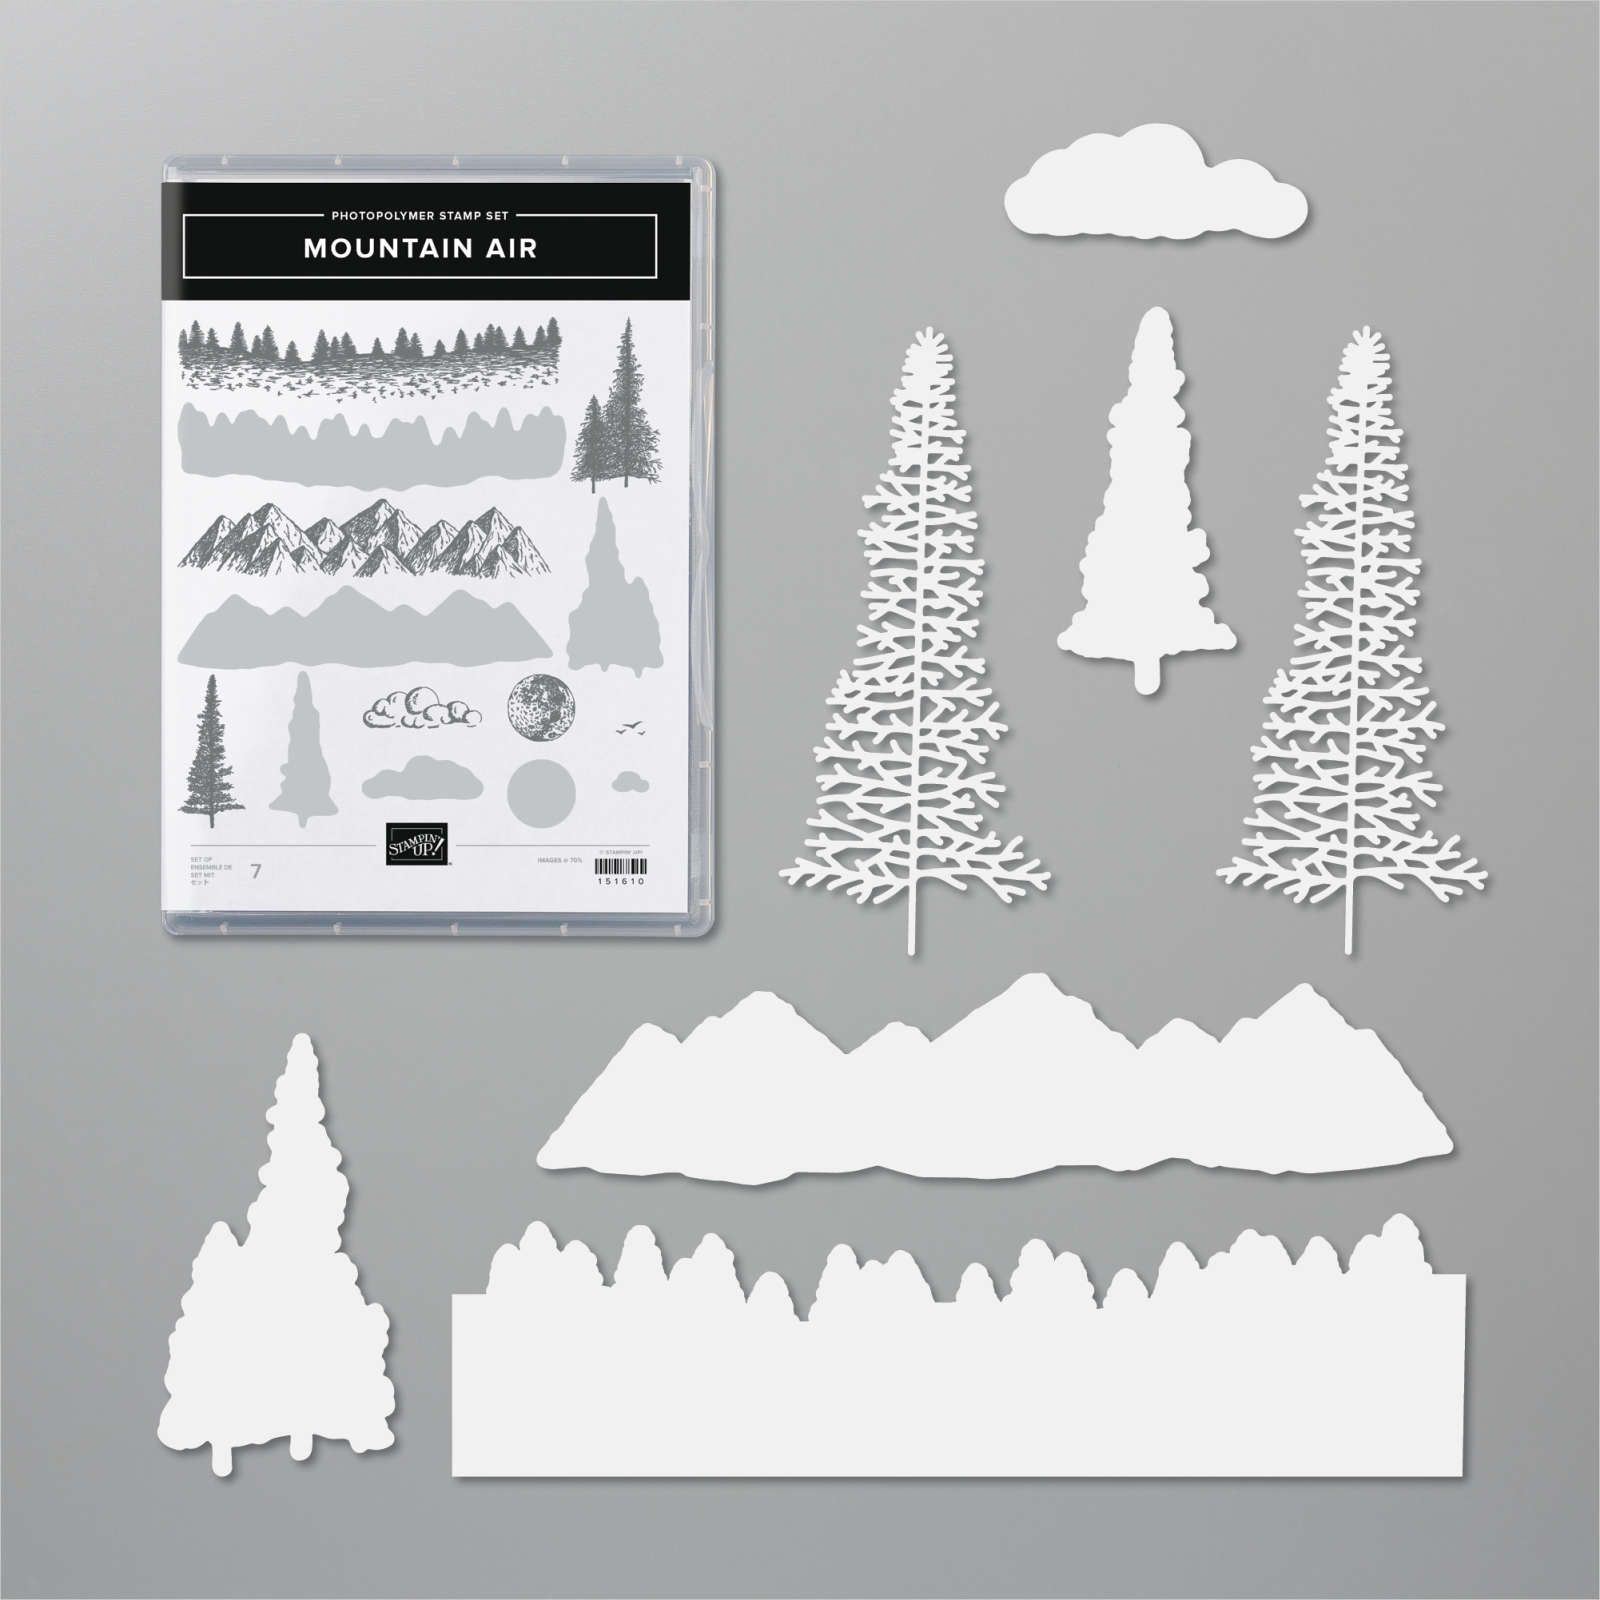
I thought the background looked like a mountain sunset, so I added mountain ranges from Mountain Air stamped in Highland Heather, and Gorgeous Grape ink and cut out using the coordinating Majestic Air die. The solid image was cut out of Rococo Rose card stock.
The trees were stamped using Mossy Meadow ink and cut out using the coordinating die. All the layers were popped up using Dimensionals in between them and then added to the Dry Brush background that I had cut down to a smaller size.
The greeting is from Flora and Flutter found in an older Paper Pumpkin set. I use this greeting quite often as it is one of my favorites.
Stay tuned as I’ll be sharing more cards using the Dry Brush stamp over the next few days.