

Iris Folded Construction Zone Easter Card
for our 4-year-old Grandson!
A forklift moving Easter Eggs!
Combined with Iris Folding, one of my all-time favorite crafting techniques.
You can see more of my Iris Folding creations HERE (along with patterns and how-to videos)
Iris folding is a paper craft technique that involves folding strips of colored paper in such a way to form a spiraling design. The center of the design forms an iris — similar to the shape of the iris of a camera lens.
Because I use heavier-weight designer paper, I do not fold the papers in half. This tends to add bulk to the back of the card front. Instead, I use a single strip of paper.
Iris folding always begins with a pattern. Iris folding patterns are available in books or can be downloaded from numerous websites. My favorite patterns are found in the book Iris Folding Compendium, Iris Folding with Iris Folding Paper and Iris Folding with Greetings by Maruscha Gaasenbeek and Tine Beauveser. I purchased this several years ago through Amazon.com.
The main 3 patterns for Iris Folding are the square, the circle, and the triangle. Click on the link below to view.
Usually, with Iris folding patterns, there are 4-5 sections, building the spiral.
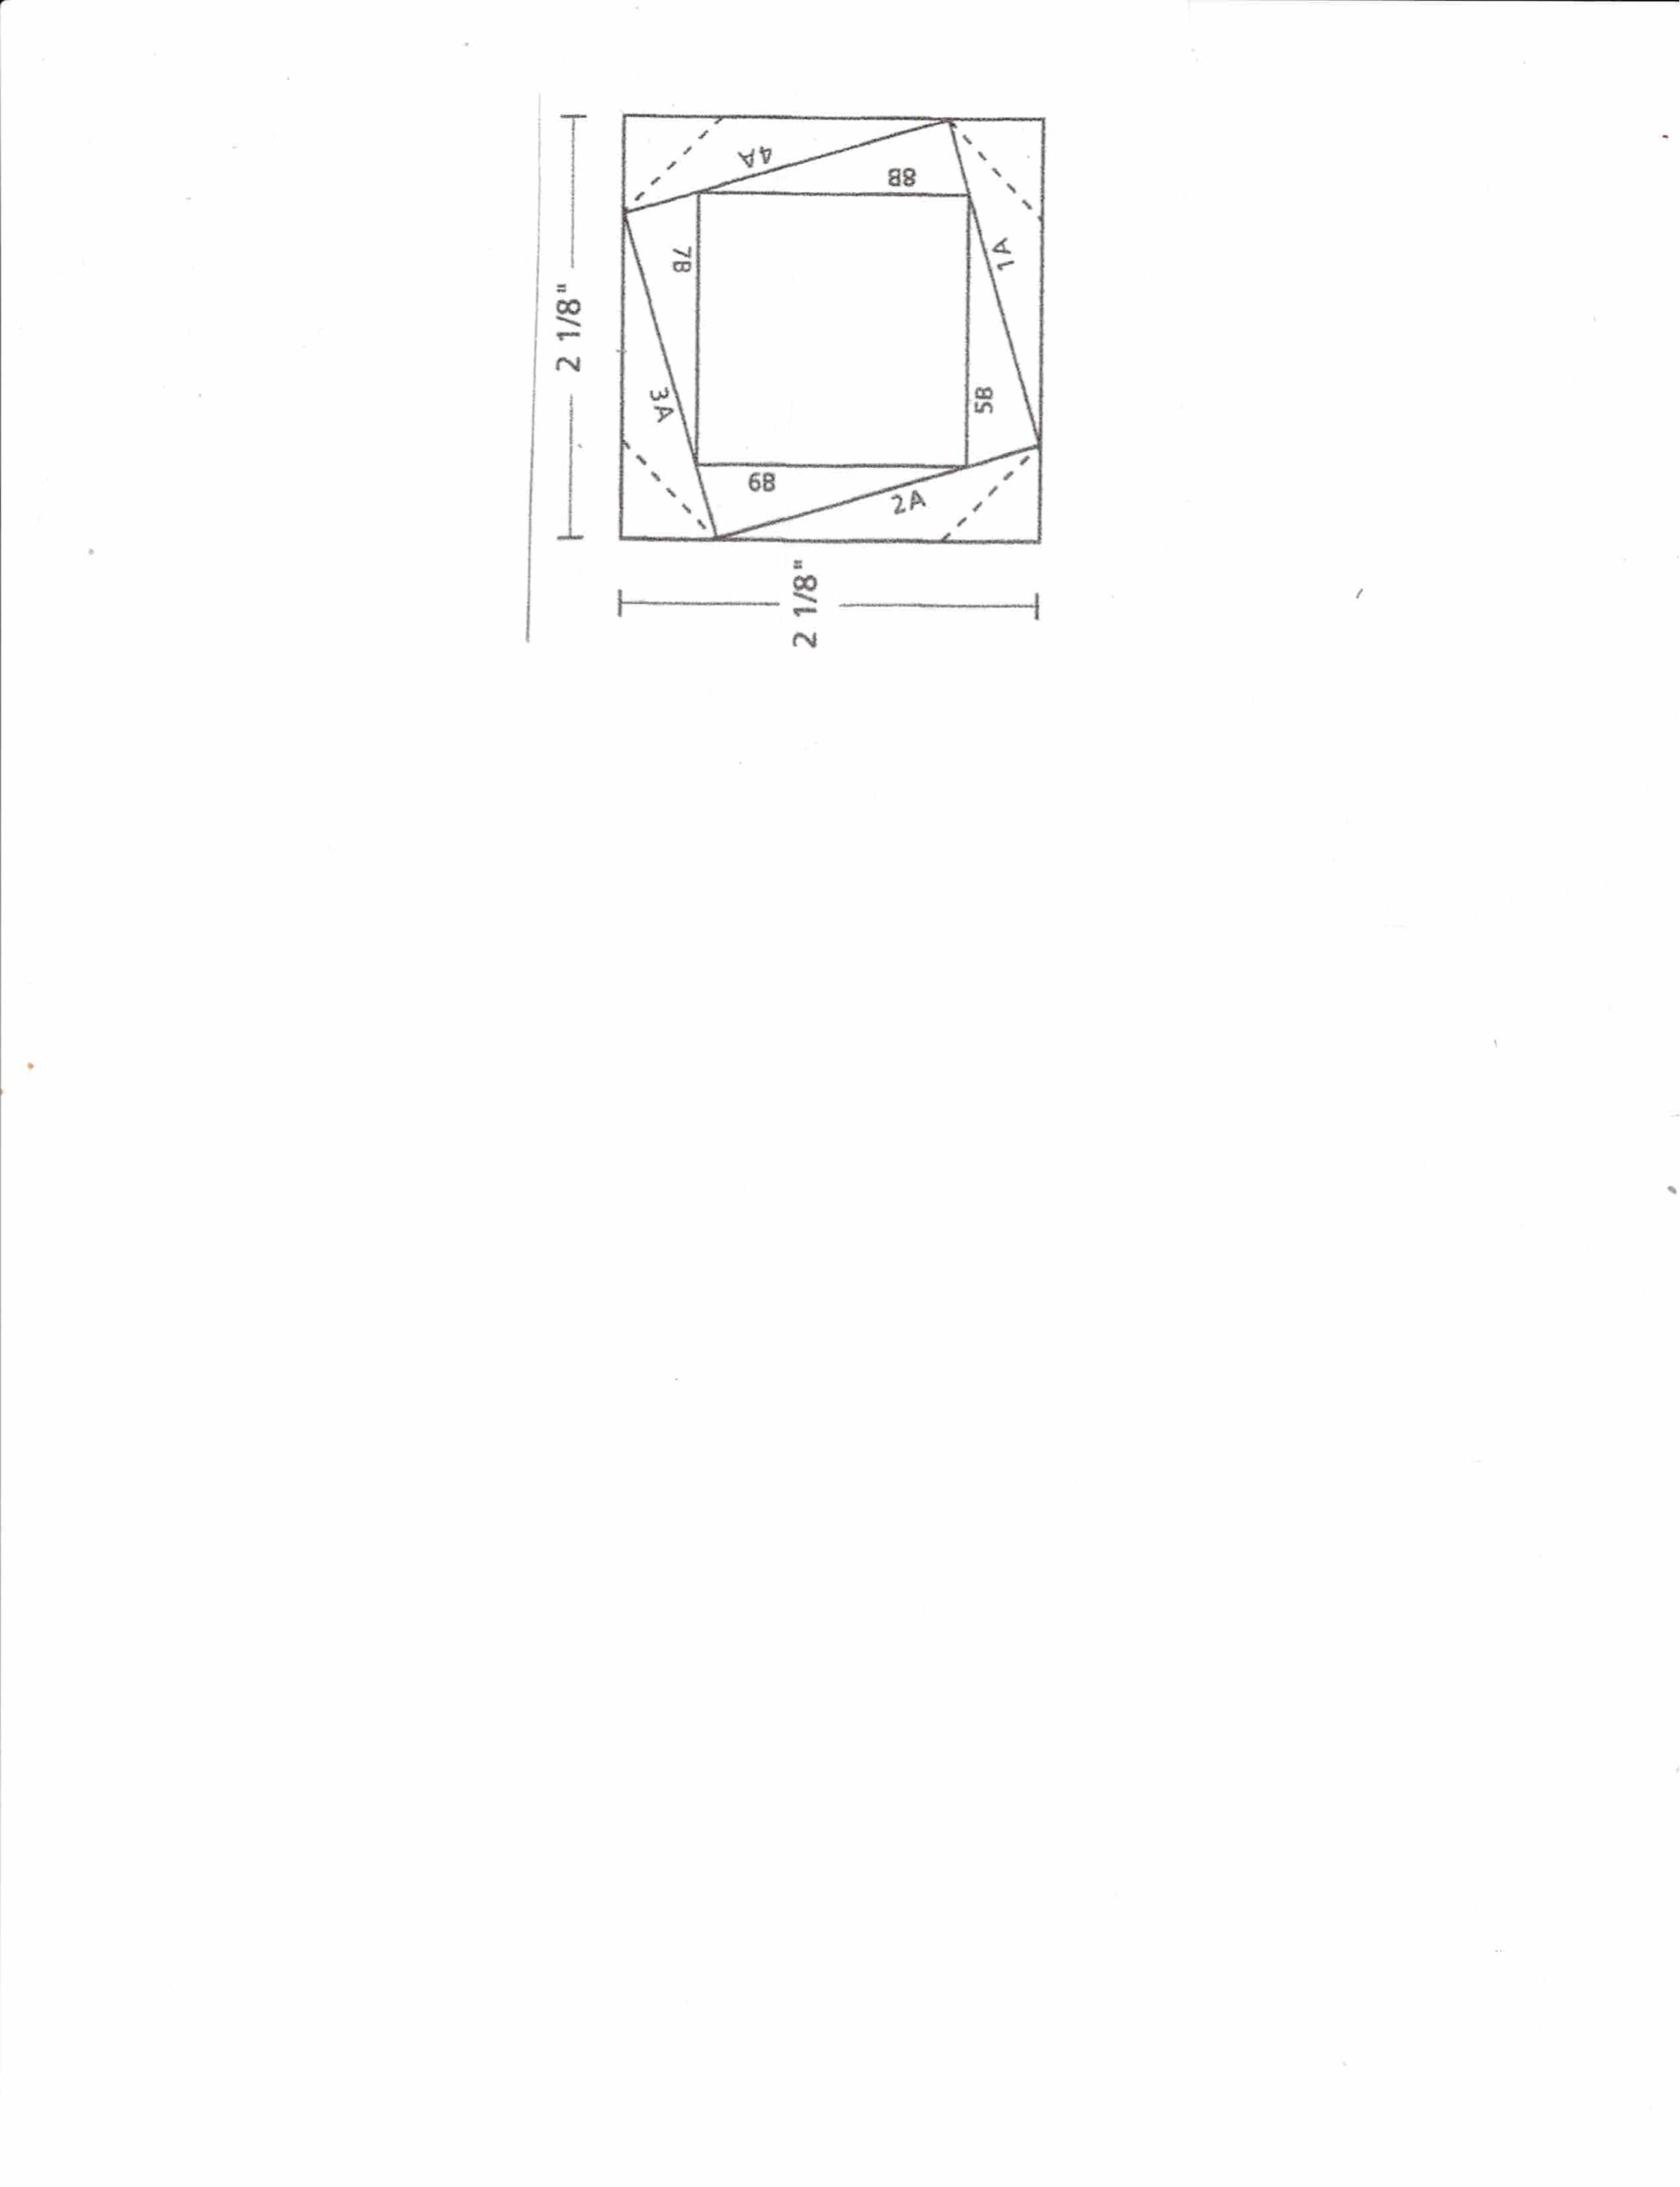
But for this card, I used this simple, 2-section square pattern. Only 2 designs of paper are needed with this pattern.
Iris Folded Construction Zone Easter Card How To:
To make this project, you will use a standard-size card front (3/4″ x 5″) made from card stock (Basic White), and 2 scraps of 2 designs of designer paper at least 3/4″ wide and 12″ long. I used strips of the retired Zoo Crew Designer Series Paper.
1. Cut a square from the card stock to create a window. I used my Stampin’ Cut & Emboss Machine and Layering Squares Die.
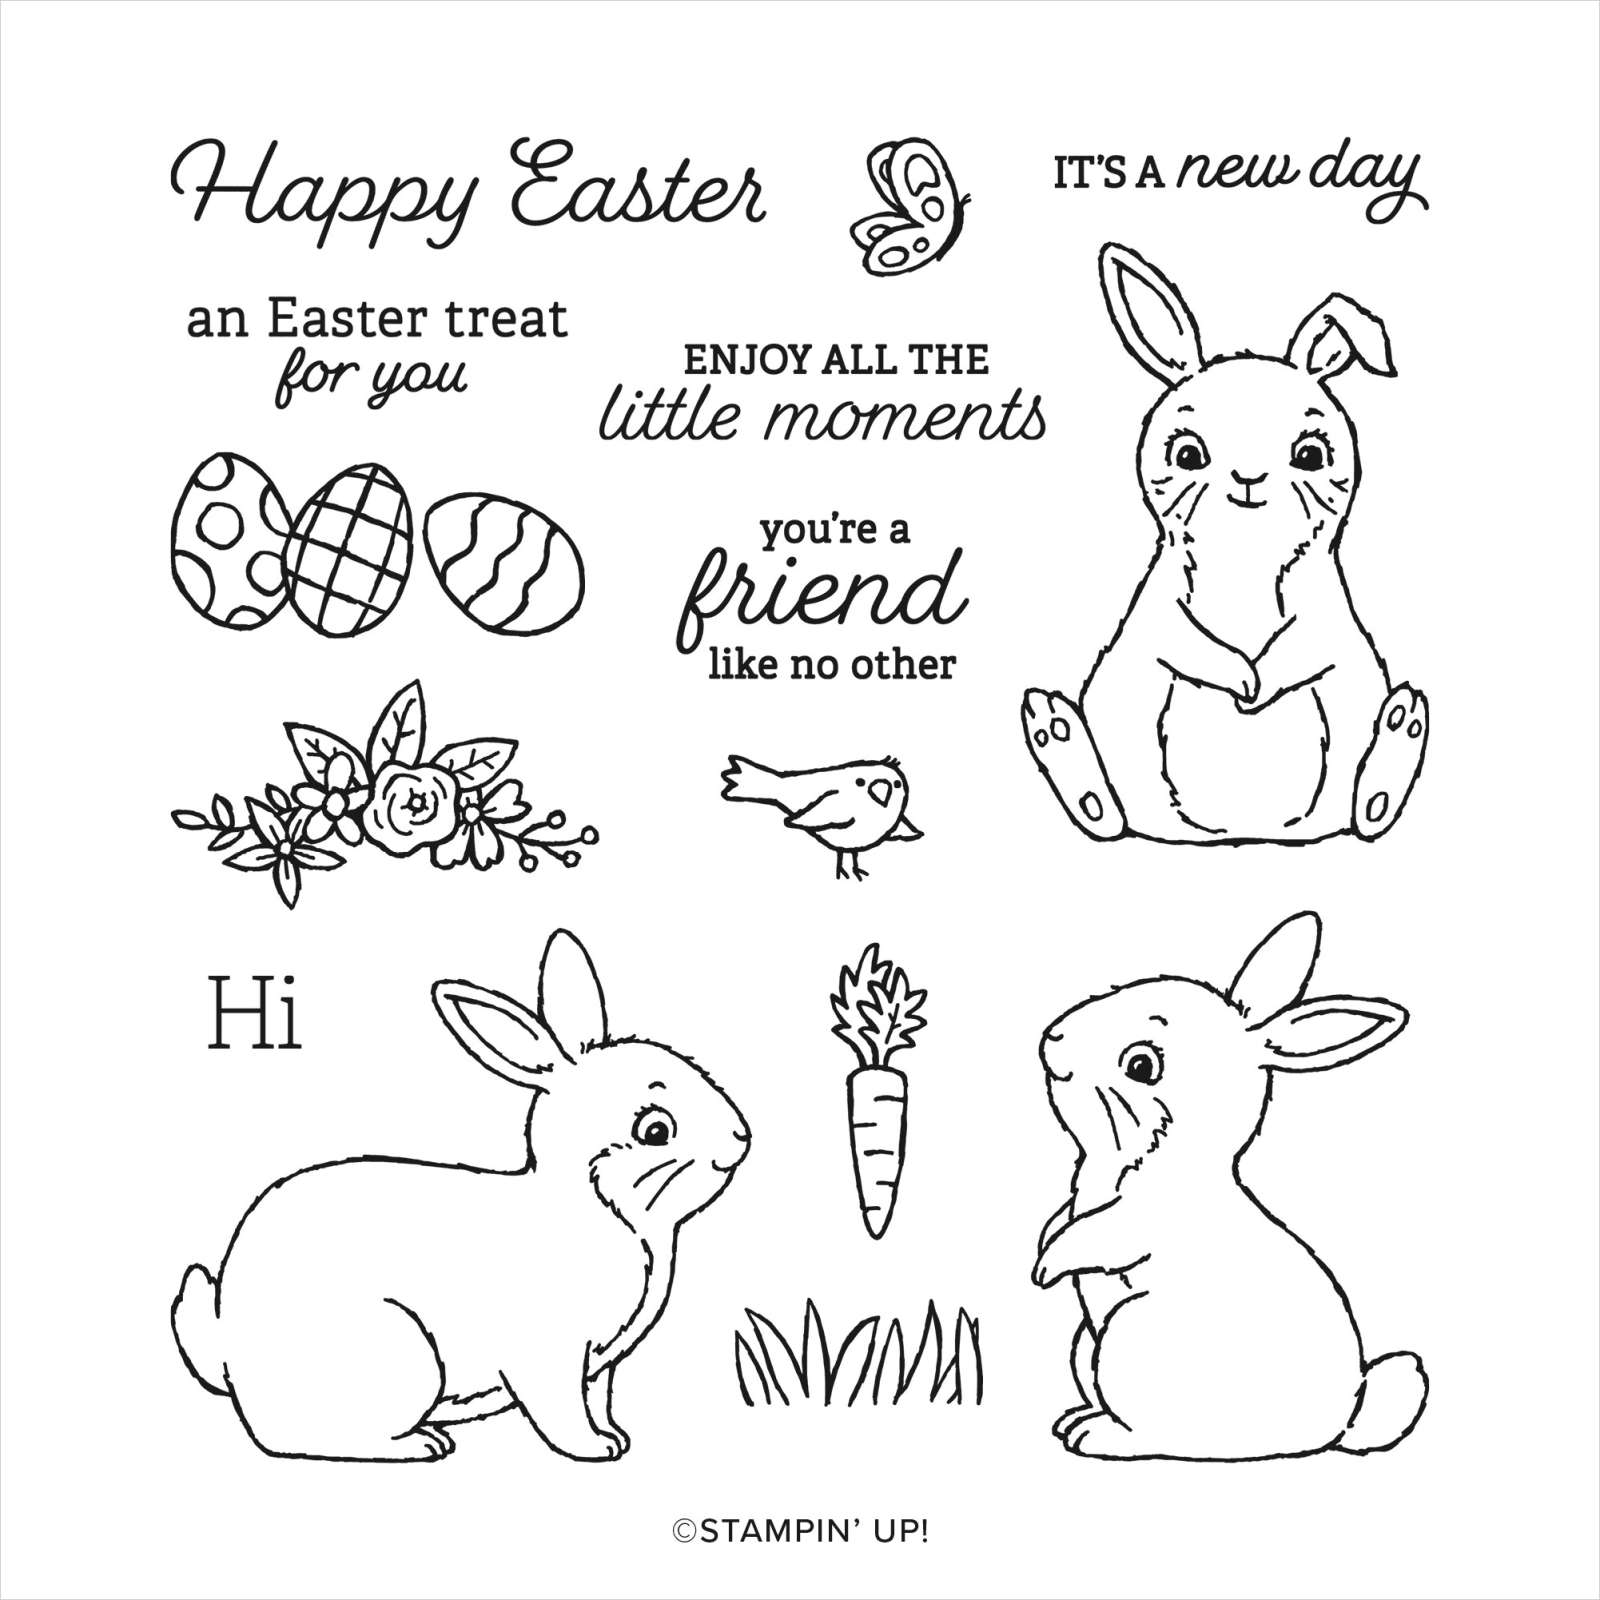
2. Stamp the greeting on the card front. I used the greeting from the Easter Bunny stamp set using Memento Black ink.
3. Turn the card front over and place it on the Iris Folding pattern. Secure with a piece of painter’s or washi tape. Remember, you always work from the BACK in Iris Folding.
4. Add adhesive along the edges of the open square. Select one of the 2 designs of paper to cover the 1A-4A parts of the pattern. Line the edge of the designer paper along the edge of the pattern. Tear or cut the length of the paper as needed to fit the pattern.
5. Add adhesive along the designer paper. Take the second paper design and cover the 5B-8B parts of the pattern. Line the edge of the designer paper along the edge of the pattern. Tear or cut the length of the paper as needed to fit the pattern.
The Iris Folding is now complete! You will have a 2-paper spiraling design with an opening for the forklift!
6. Stamp the forklift from Construction Zone on a scrap piece of Basic White card stock using Memento Black ink. Color using Stampin’ Write Markers or Stampin’ Blends. Fussy cut using scissors. Lightly sponge Balmy Blue ink in the center of the image.
7. Stamp the Easter Eggs from Easter Bunny using Memento Black ink. Color using Stampin’ Write Markers or Stampin’ Blends. Fussy cut using scissors.
8. Slip the forklift inside the opening using Mini Dimensionals along the bottom edge to pop it up. Add the Easter Eggs using Mini Dimensionals to pop them up.
9. To cover the opening of the Iris, I used a piece of paper towel that I had used to blot watercolors. It had a mix of blues and pinks, plus a little texture. I attached the paper towel to a 2 3/4″ x 2 3/4″ piece of scrap card stock, then cut down the towel to match. Attach the paper towel to the back of the opening.
You can see more of my paper towel creations HERE
10. I also created a Coastal Cabana frame around the Iris Folding. I nested two Square Framelit Dies and cut using my Stampin’ Cut & Emboss Machine. Then, I added Black Matte Dots to complete.
The possibilities are endless!


