Paper Strips Christmas Tree
A great way to use up paper scraps!
After a flurry of Christmas card crafting, I had a collection of scrap pieces of Painted Christmas Designer Series Paper in my stash.
I made a Christmas Tree card using some of the paper strips using this easy-to-follow pattern.

You can also see the pattern here as a pdf file for easy printing:
Paper strips Christmas tree pattern
Here’s How: (Watch my How-to video Here)
- Print out 2 copies of the Christmas tree pattern found in the link above.
- Cut out the center of the tree, leaving just the tree outline on one printed pattern. You will use this piece to trace the triangle shape of the tree onto your card front.
- Cut a piece of Basic White card stock to 3 3/4″ x 5″ for your card front. Lay the cut tree pattern on the card front and trace along the inside of the pattern using a pencil and cut out the center using scissors. *Option-if you have a triangle die, you can use it to cut the opening on the card front. That is what I used; my Stampin’ Cut & Emboss Machine and a triangle die. You can also cut out a small rectangle below the tree for the trunk. For this card, I did not do this. Instead, I added a piece of green Glimmer paper cut to size to the bottom of the tree as one of the final steps to complete the card.
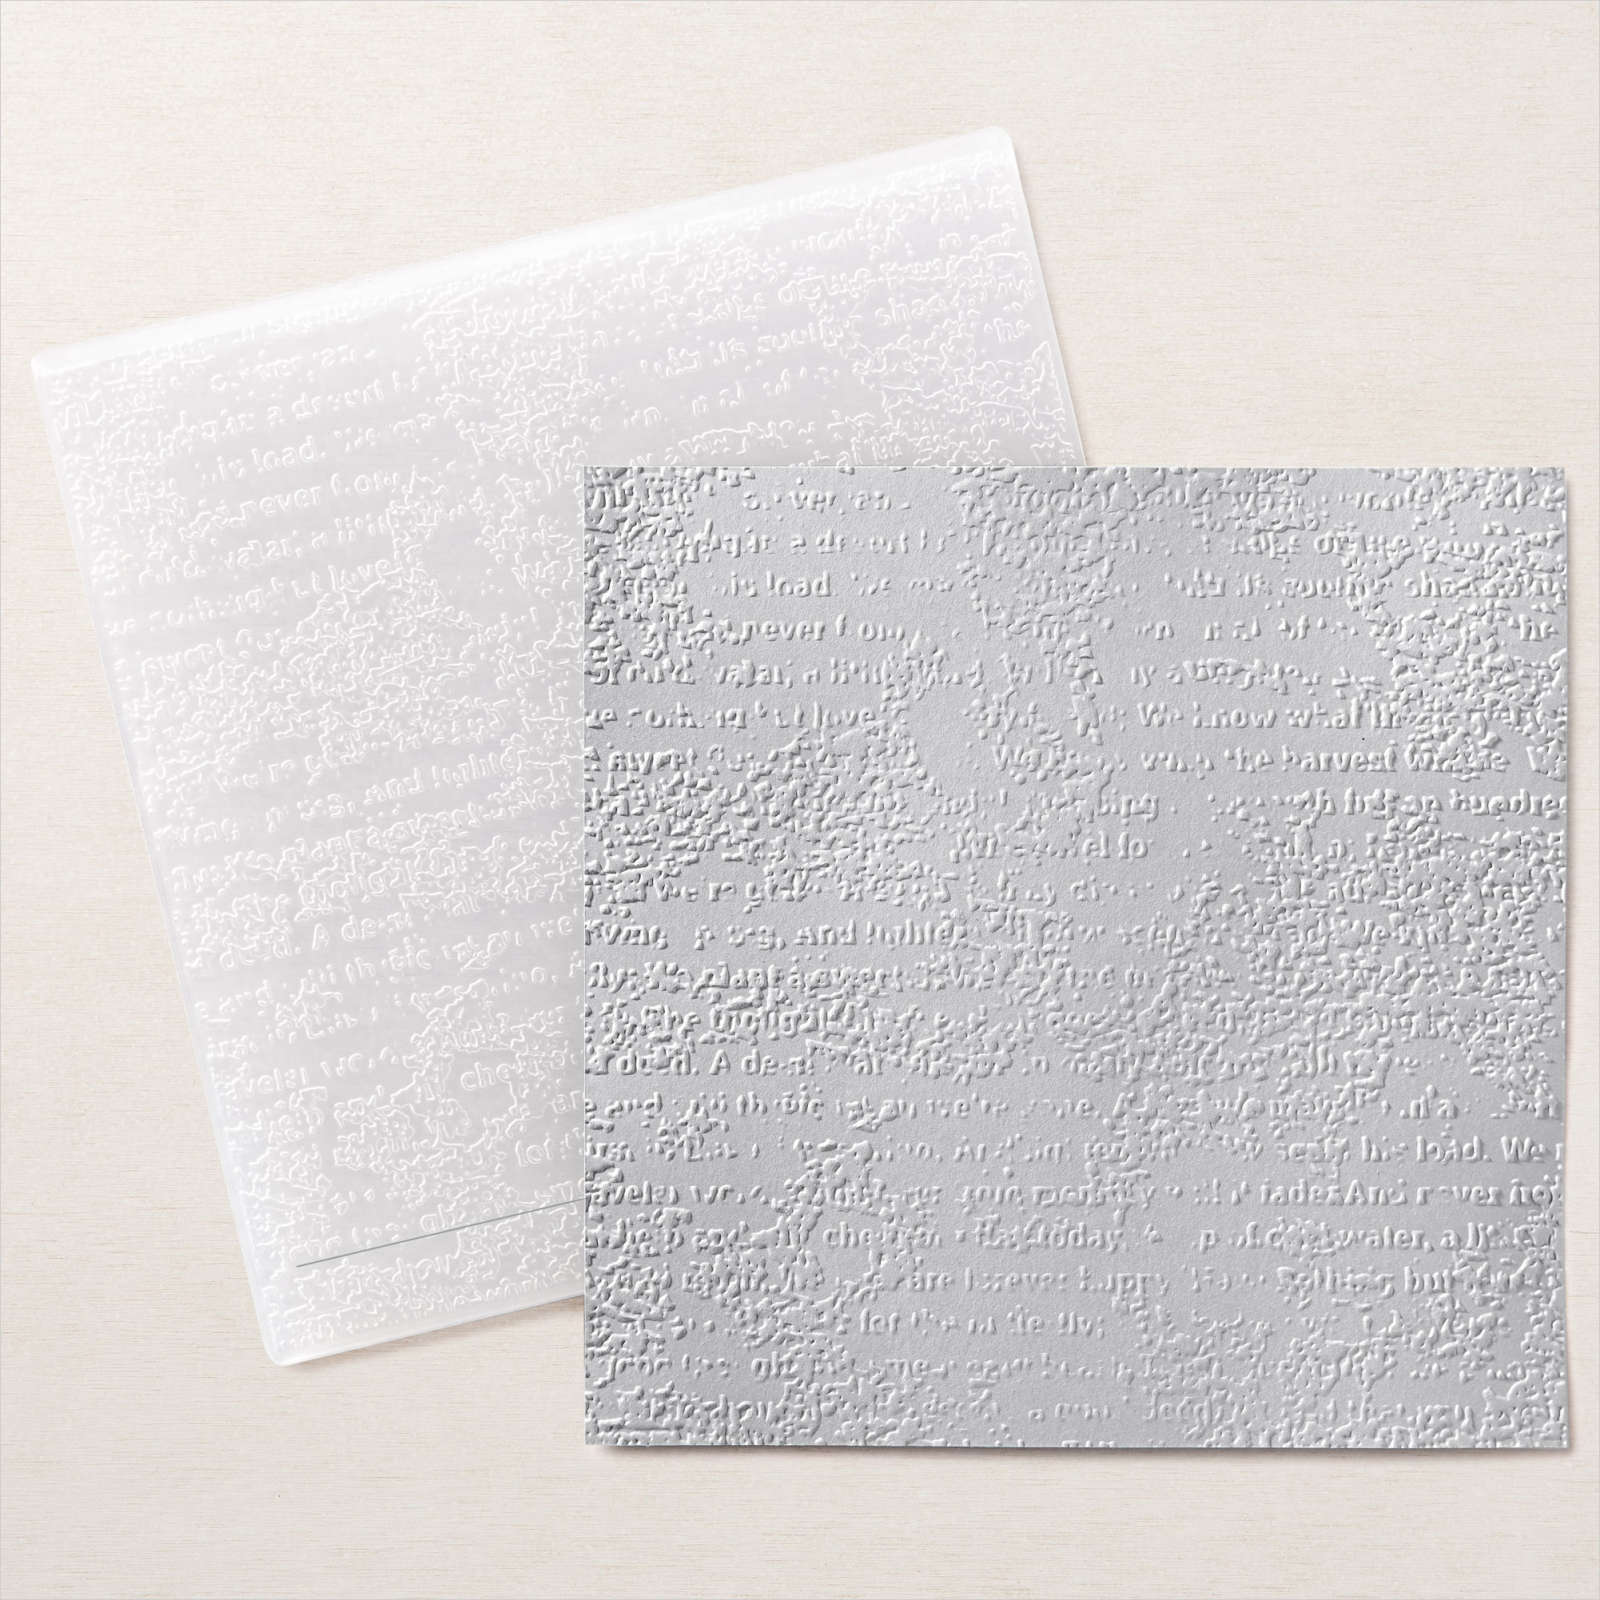
- Emboss and stamp the greeting on the card front if desired. It is easier to do this before adding the bulk of the paper strips. I embossed the card front using the Timeworn Type Embossing Folder for this card.
- Cut strips of designer paper measuring 1/2″ wide and at least 6″ long. You will trim the length as needed. Use two coordinating designs of the paper. I used one of the designs from Painted Christmas Designer Series Paper and strips of Real Red card stock.
- Lay the 2nd copy of the Christmas tree pattern on your work surface. Place the card front FACE DOWN on top of the pattern and secure it with washi or painter’s tape on one side. This will create a hinge so you can flip the piece to the front so you can check your progress. You will be working from the BACK.
- Add the strips of paper following the pattern. If you’ve cut a rectangle, start by placing a dark-colored piece of card stock over sections 1 and 2. If not, start with a strip of the designer paper in section 3. Add a small amount of Liquid Glue to each end of the strip to secure. You don’t want glue to show through the front.
- Add the subsequent design of the designer paper (Real Red in this case) to section 4. Continue with the pattern, alternating the paper designs to the top section 15. Trim the length of each strip as needed, so they are not hanging over the sides of the card front.
- Remove the tape and turn the piece over. You will now have a Christmas tree made out of paper strips!
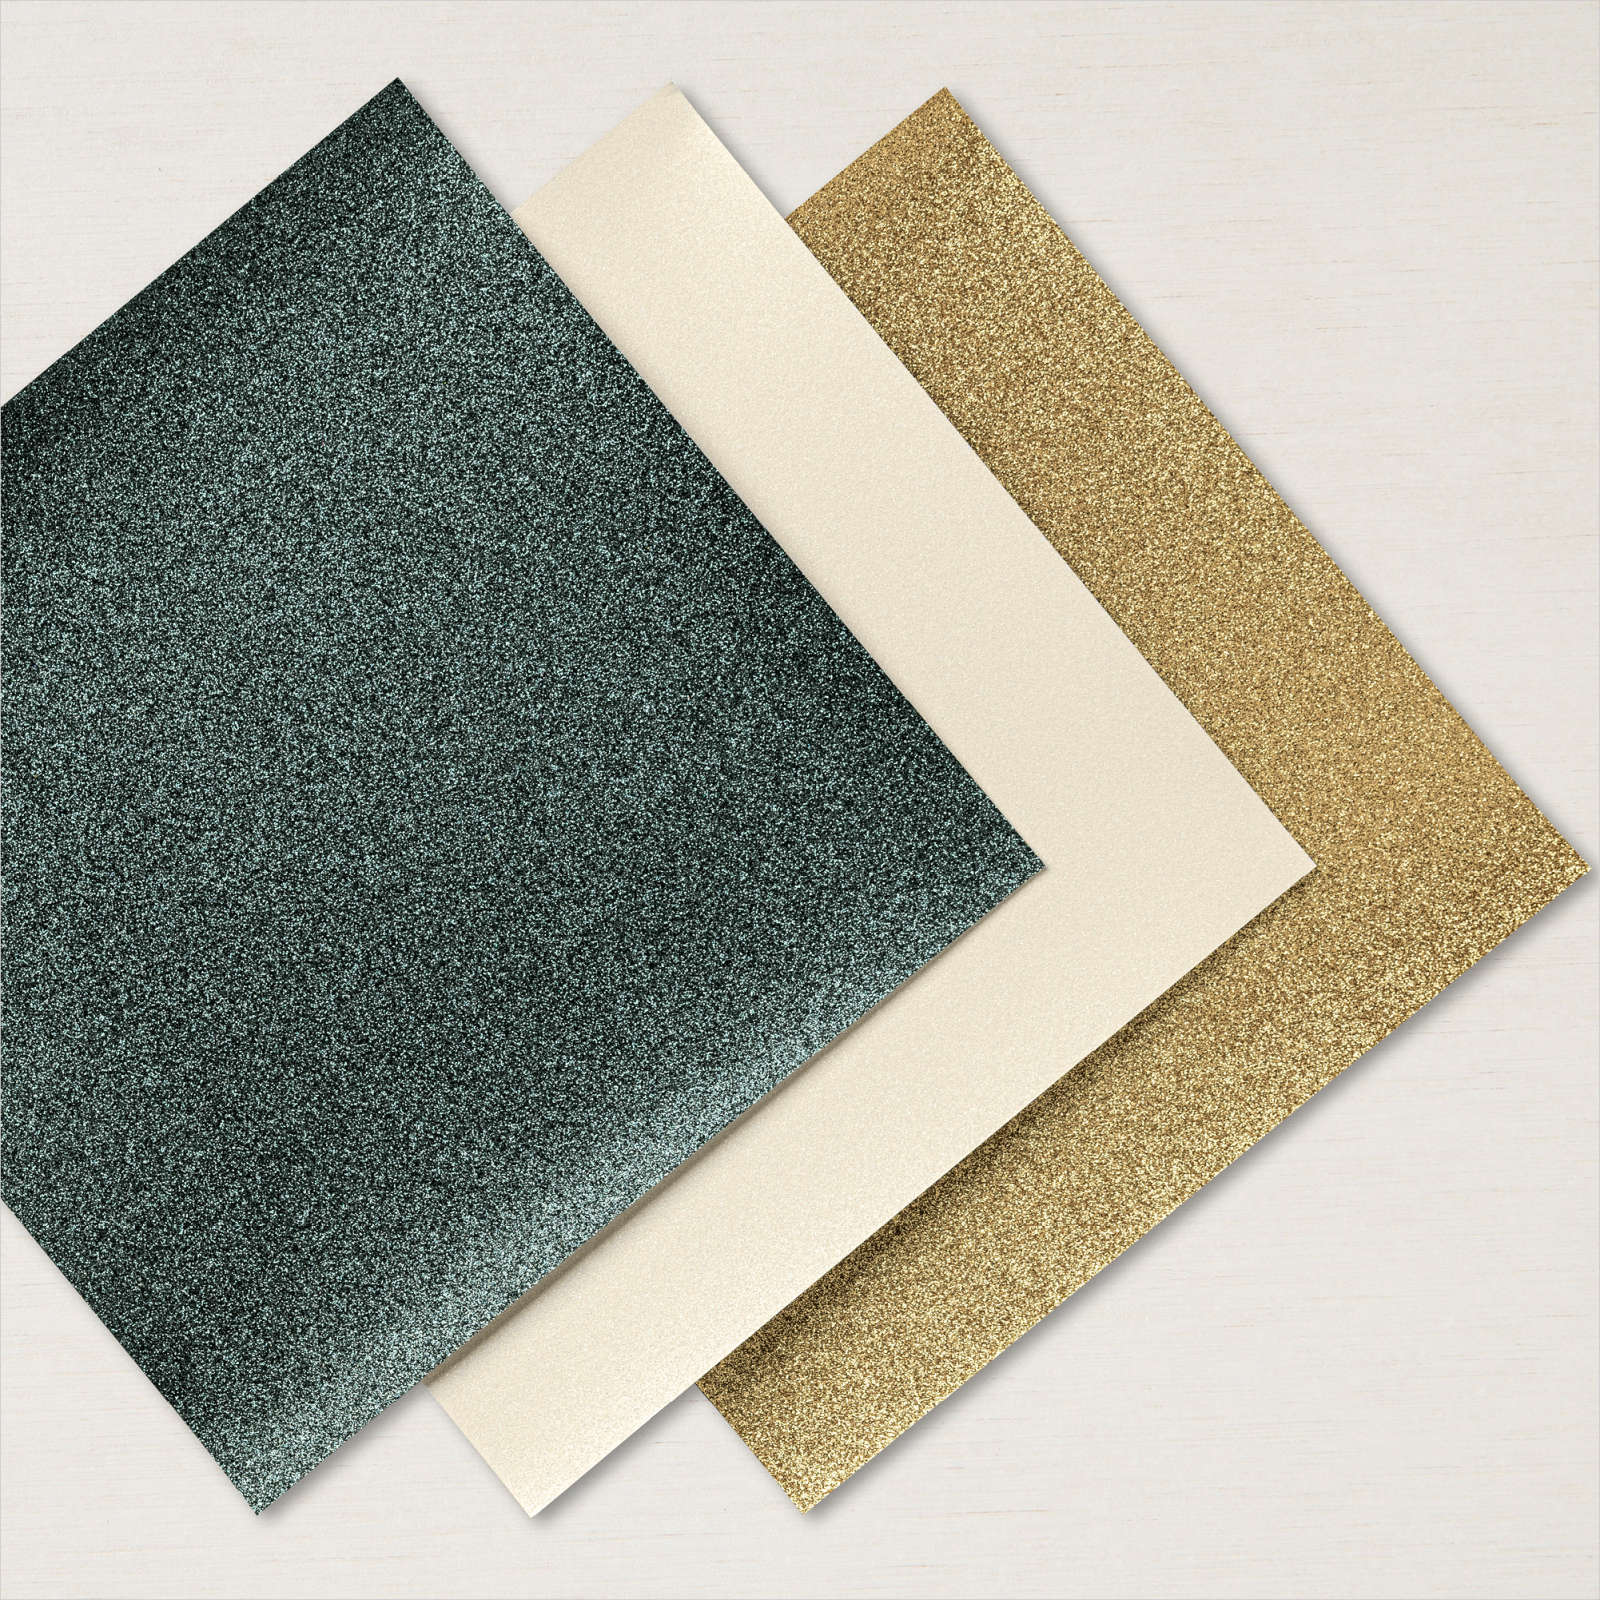
- Attach the card front to a green Glimmer Paper mat, then to a Basic White card base.
- Attach green Glimmer tree trunk.
- Punch or die-cut star out of gold Glimmer paper. I used a star punch out of my stash. I punched 2 stars, then layered them one on top of the other. Attach to the top of the tree.
- Stamp the greeting on a scrap piece of paper. Attach to card front using Dimensionals to pop it up. I used the retired Festive Post greeting stamped on a scrap of Painted Christmas Designer Series Paper using Real Red ink.
- Add pearls or rhinestones to complete. I used Pearls colored using a Cherry Cobbler Stampin’ Blend.
The color possibilities are endless!
Watch my Paper Strips Christmas Tree How-to Video Here: