Iris Folded Christmas Tree
Have you tried Iris Folding?
It is one of my all-time card-making techniques.
Iris folding is a paper craft technique that involves folding strips of colored paper in such a way as to form a spiraling design. The center of the design forms an iris — similar to the shape of the iris of a camera lens.
And I have shared numerous Iris Folding Projects HERE
There are 3 basic Iris Folding patterns: circle, square, and triangle.
I used the triangle pattern for this card.

You can find the 3 basic patterns HERE
Please note: usually, the strips of paper are folded in half, hence the name Iris Folding. I do not fold the paper strips because I find it adds too much bulk to the card. If you decide to fold the strips, you’ll need to cut them wider, say 1″ rather than 1/2″.
Here’s How:
- Print 2 copies of the triangle pattern. You can find the Triangle pattern here as a pdf: Basic Triangle Iris Folded Pattern
- Cut out the center of the triangle from one copy using scissors. *Option: cut out the triangle using a die-cut machine and triangle die. I used my Stampin’ Cut & Emboss Machine, and a triangle die for this card. This will be the stencil/pattern you will trace onto your card front.
- Lay the stencil on the card front. Trace along the inside with a pencil, and then cut out with a pair of scissors. Or, die-cut the triangle using a die-cut machine and triangle die.
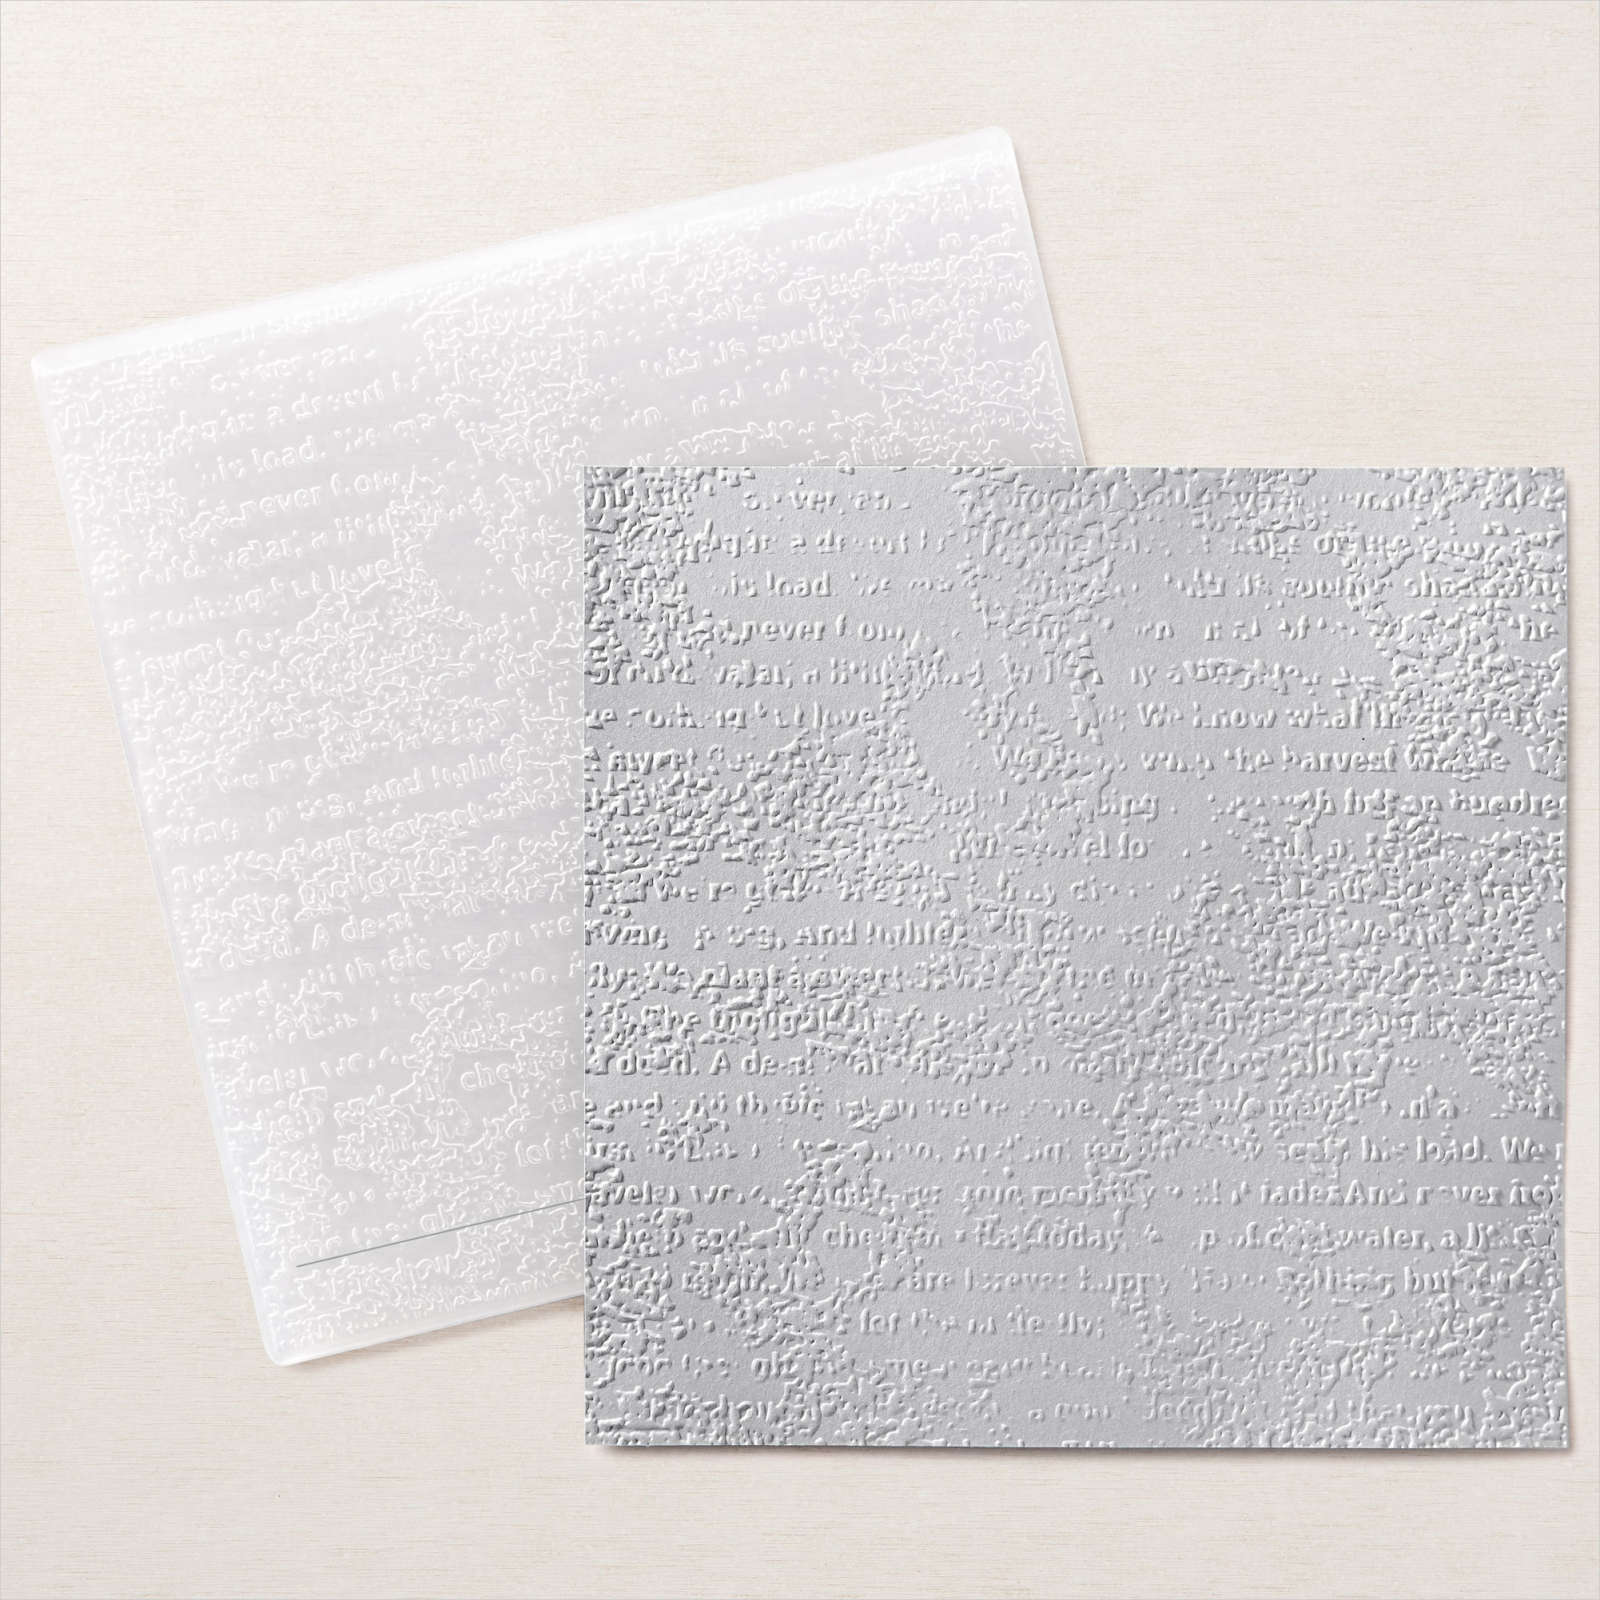
- Emboss or stamp card front. It is easier to do this now rather than later with the bulk of the paper strips on the back. I embossed my card front with the Timeworn Type Embossing Folder.
- Turn the card front over, placing it on top of the 2nd triangle pattern. Attach a strip of washi or painter’s tape to one side, creating a hinge. This will allow you to lift the card front and check your progress. Remember, with Iris Folding; you always work from the BACK of the card front.
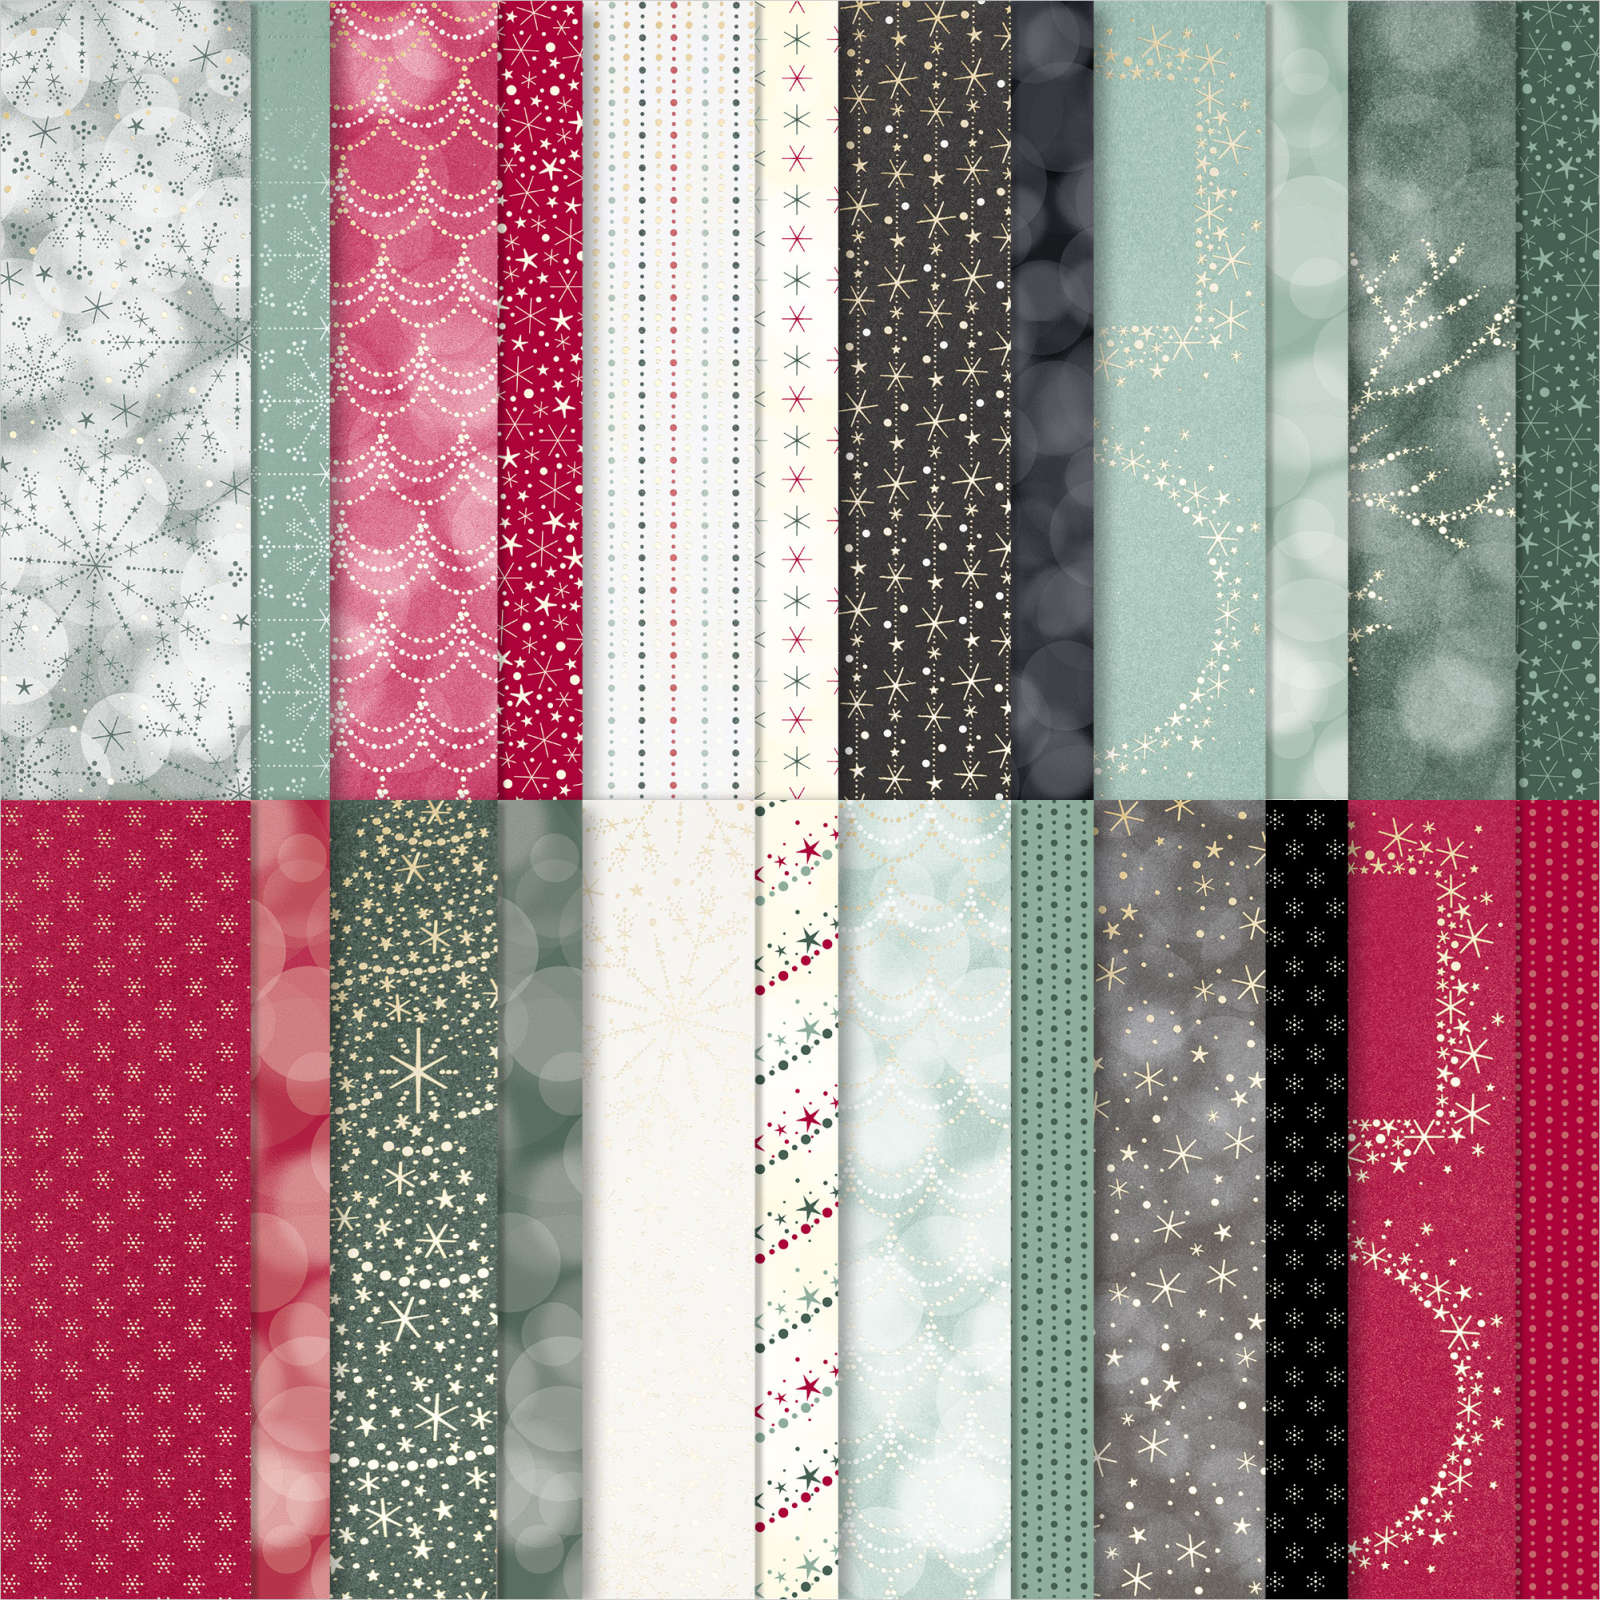
- Cut 1/2″ x 6″ strips of pattern paper. I used 4 Lights Aglow6″ x 6″ Designer Series Paper designs. Lay the strips in the order in which you will be using them. Remember, the side you want to show will be FACE down. You may want to number the strips 1-4 to help you keep track. Although this is a fairly simple pattern, it can get complicated with more designs needed.
- Apply adhesive to the back of the card front. I used Stampin’ Seal.
- Following the pattern on the copy paper underneath the card front, attach the first strip of paper face down along the edge of number 1 on the pattern. Attach the second strip of paper along the edge of number 2 on the pattern. Continue with the third strip of paper along the edge of number 3 on the pattern and the fourth strip of paper along the edge of number 4 on the pattern. Continue all around until the pattern is complete and you have an open center. This is the Iris.
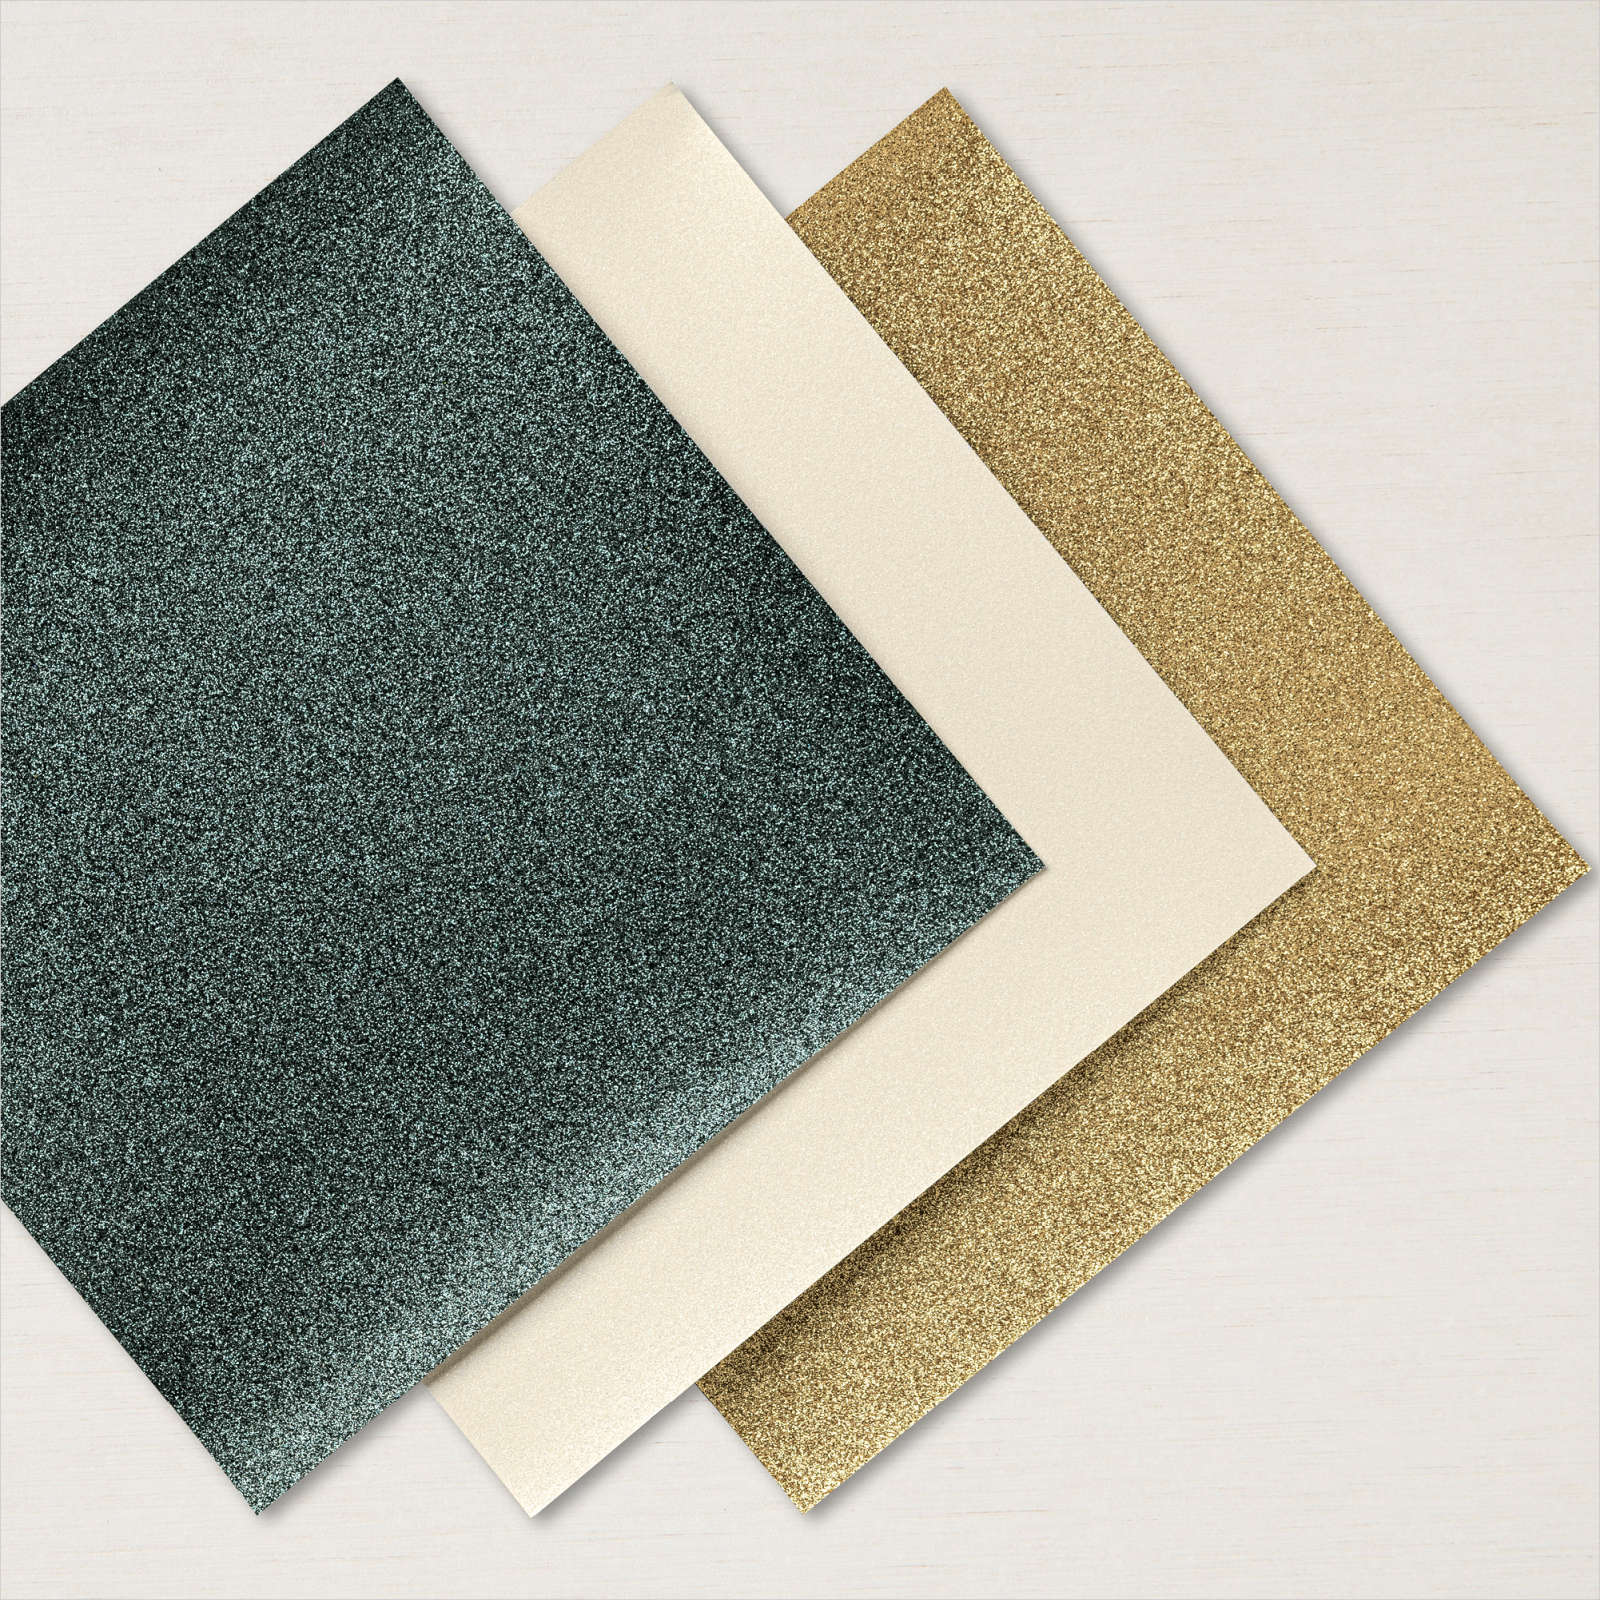
- Remove the washi tape. Turn the piece over and attach a piece of shimmery or special paper over the iris. I used a piece of gold glimmer paper.
- Attach to Gold Foil mat. Attach to Basic White card base.
- Cut a rectangle piece for the tree trunk out of gold Glimmer paper and attach it to the bottom of the tree.
- Stamp a greeting on a piece of card stock. I used the retired Festive Post stamped on a scrap piece of Basic White using Black Memento ink. Attach to card front using Dimensionals to pop it up.
- Punch or die-cut star out of gold Glimmer paper. I punched 2 stars using a retired star punch and layered them one on top of the other. Attach to the top of the tree.
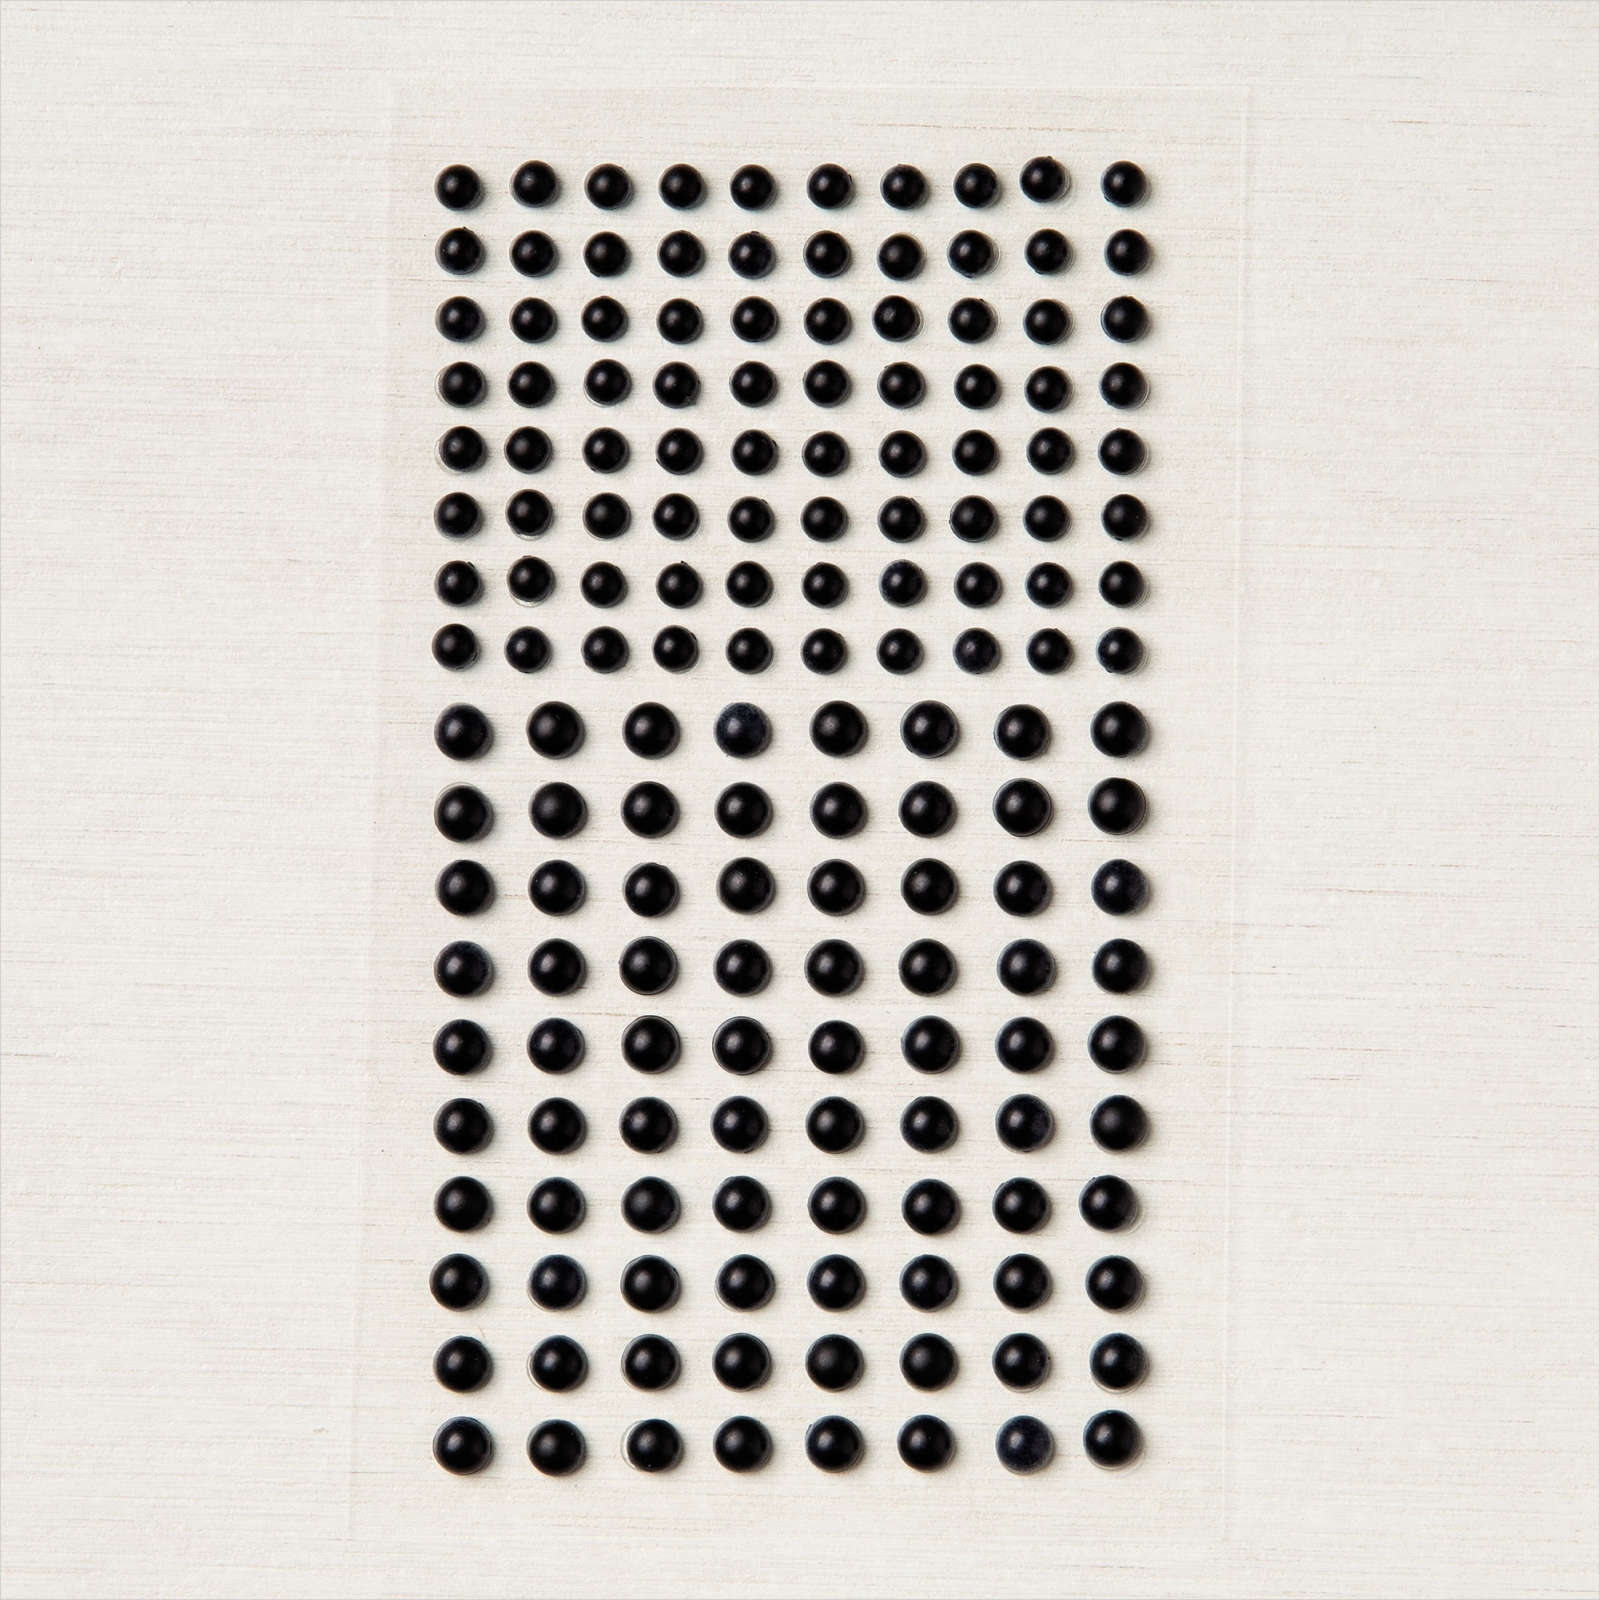
- Attach Black Matte Dots to complete.
Watch my Iris Folded Christmas Tree How-to Video HERE

Shop online 24/7: